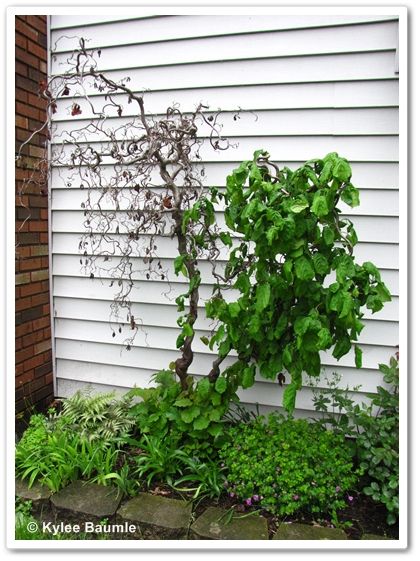
I collected ideas from other gardeners and friends as to what I should do there. Romie voted to remove the dead part and let the live part remain. I nixed that idea pretty much before he got it out his mouth. Some suggested I paint the dead part a bright color, just to be whimsical. I entertained that idea, but just couldn't visualize it as looking good.
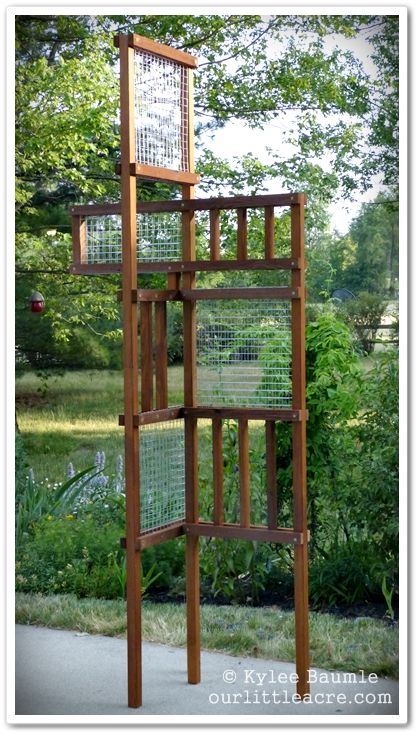
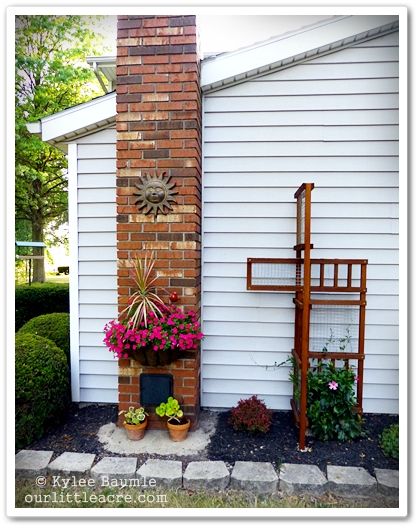
About two months ago, I was tired of mulling over the idea and decided to go with an idea I'd seen in the Lowe's Creative Ideas Home & Garden magazine. I loved the trellis and thought it might look good in place of the half-shrub. So out the shrub came.
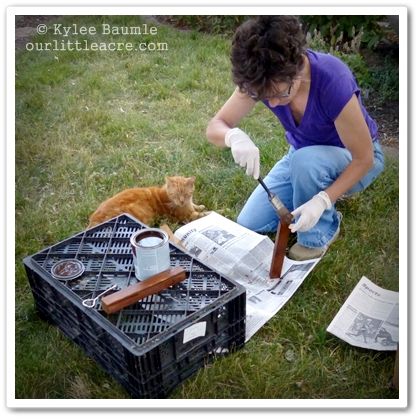
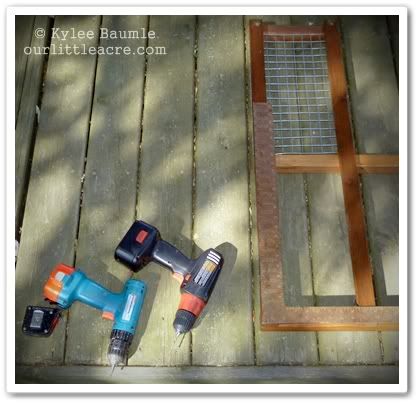
We went to Lowe's and got the materials we needed and I supervised as Romie cut the pieces of wood needed to construct the trellis. He cut the hardware cloth while I stained the pieces of wood.
After those were dry, we put the pieces together, and the trellis was complete.
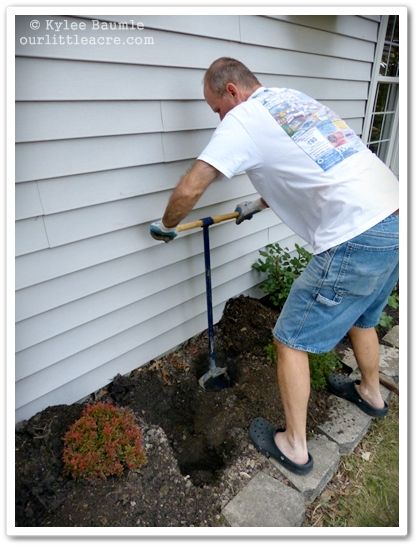
Holes were dug in the ground for placing the legs of the trellis.
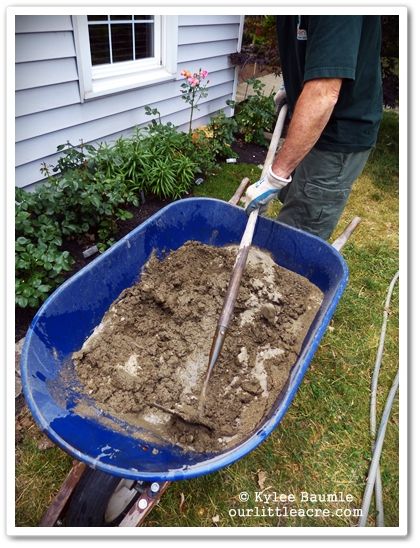
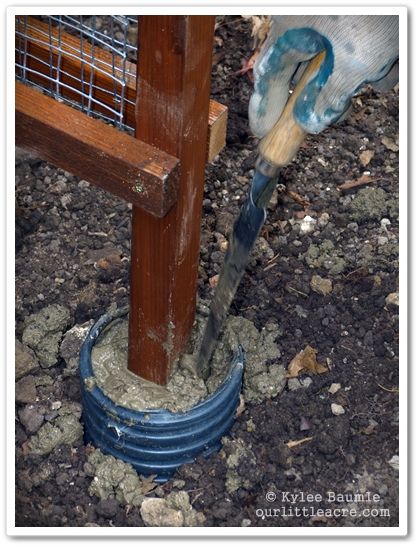
We used pieces of black PVC tile down in the hole and used Portland cement poured into them as a means of not only anchoring the trellis, but protecting the wood from decomposing.
Once we had them leveled and let the cement set up, we backfilled the spaces in the hole with soil and then used gravel around the legs so that water would drain and not soak into the base of the trellis legs.
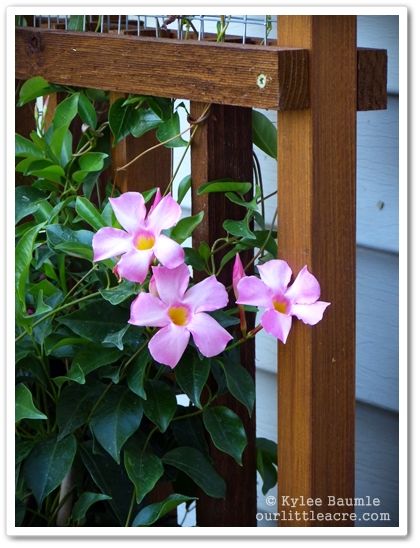
I planted a Mandevilla vine at the base, because it's fast-growing and will fill the trellis before summer's end. I might plant a perennial vine, such as a Clematis, this fall, so that I don't have to plant it anew each spring, but I love the annual vines for their constant color.
I think I like the trellis here even better than Harry!
For a complete list of materials needed and instructions on how to construct this freestanding trellis, see the Lowe's Creative Ideas site.
*Though I do receive gift cards with which to purchase materials for my participation as a member of the Lowe's Creative Ideas Garden Club, I purchased the materials for this project myself.









 "Bejeweled"


3 comments:
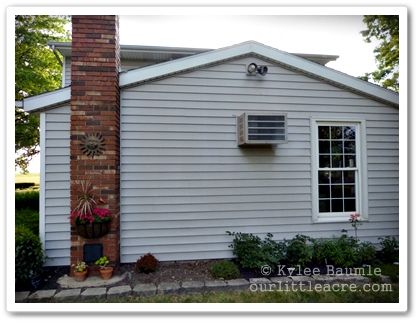
I just found your blog and am enjoying it. I have to say that your new trellis not only looks great, it really brings attention to what you've got going on over on the chimney. When I saw the "after", I thought that was new as well, and then scrolled back to the first photo to see that it was there before, I just hadn't noticed. Great job!
Perfect location for your project - really stands out and features your Mandevilla beautifully. Do you overwinter it inside, or replace it?
KimT ~ Thanks, Kim! And welcome to Our Little Acre! We love our trellis too, and it was really very easy!
Claudia ~ This is my first year for the Mandevilla. I haven't decided yet whether I will dig it up and put it in the greenhouse for the winter, but I think I just might!
Post a Comment